 |
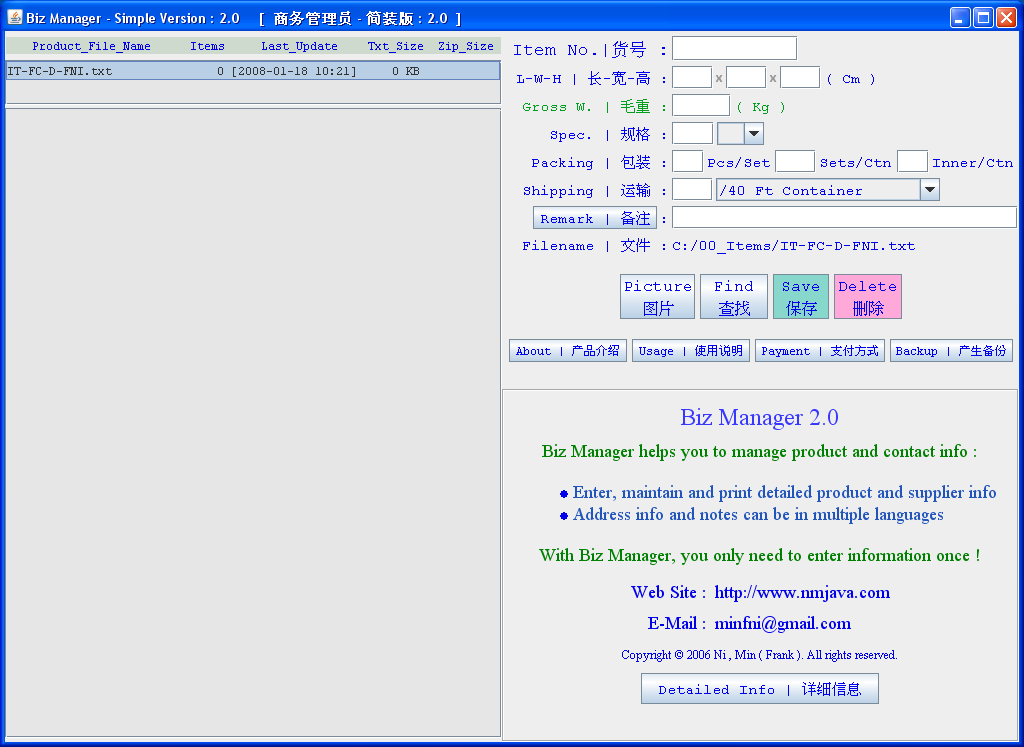 |
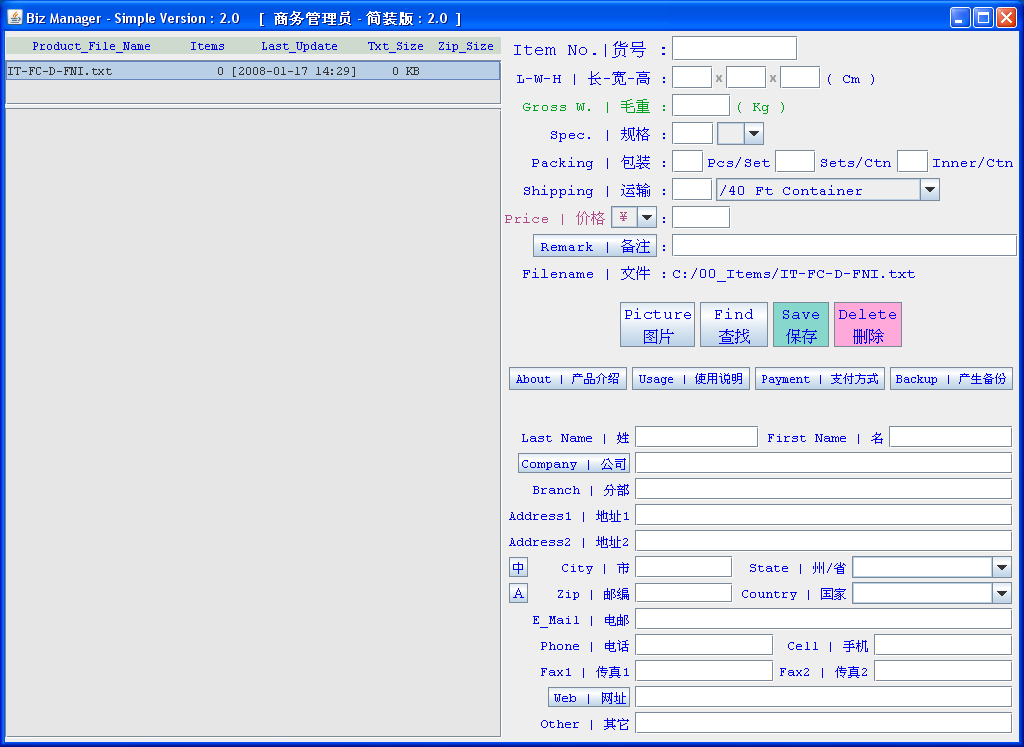
The Simple Version of the program Biz_Manager is named : BM.exe. It can not only help suppliers keep track of their products and contact info, but also easily pass those info to their import/export agents.
There are 2 modes for the program : Public and Private. Press F5 key will toggle between the 2 modes.
In Public Mode, it assumes you are in the public and don't want to display all sensitive info, it hides product price and supplier contact information
In Private Mode, it displays all your information.
|
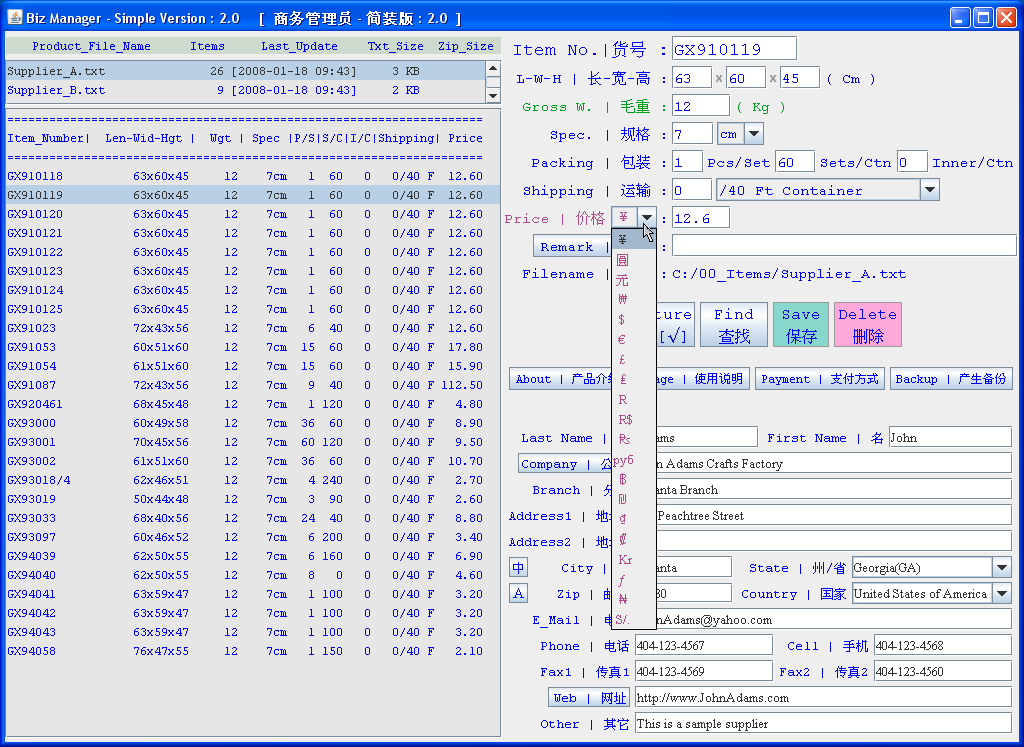 |
In this Private Mode, you, as a supplier can enter your product info and contact info, and hit the  button to save any info you entered.
The BM.exe program will generate a file according to your computer name, so each supplier will have a different product and contact info file which he can send to his import/export agents.
You can also point to an item and hit the  button to delete it. button to delete it.
To find an item according to its item number, you can enter the item number in the first field and hit "Enter" key on your keyboard or click the
 button. button.
Biz_Manager supports all major currency symbols, you can select the one you need as shown on the left.
|
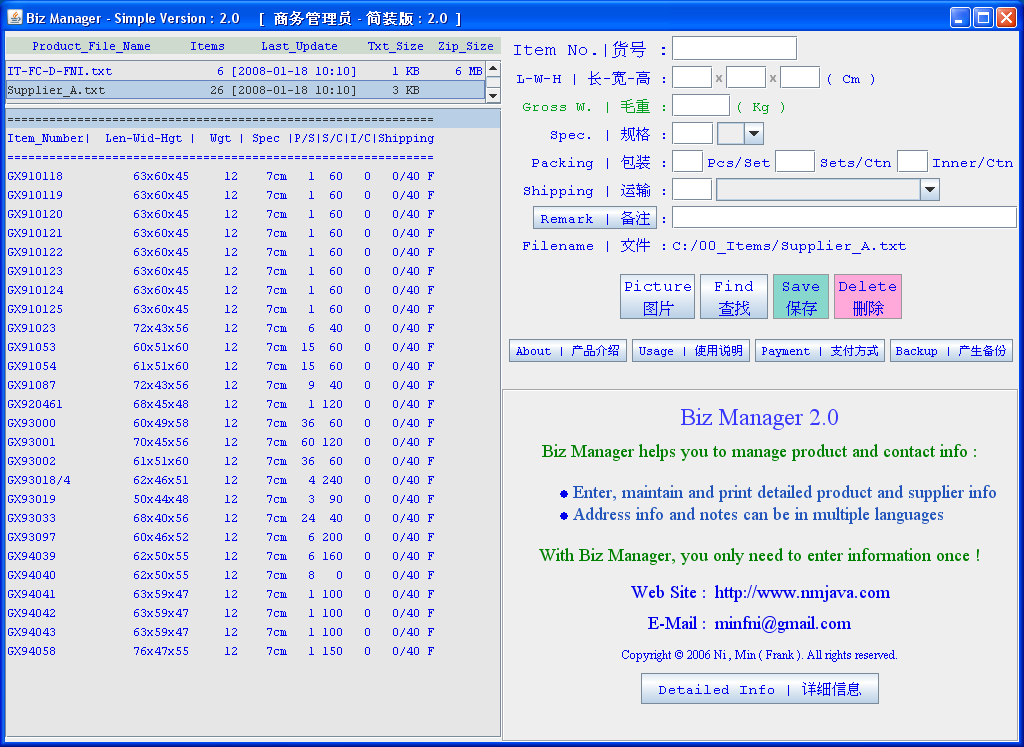 |
If you press the F5 key on your keyboard, the program will switch to Public Mode, in this mode it will hide the price and your contact info.
|
 |
Product remarks and supplier contact info can be in any language, if your computer is set up for the language you choose, e.g. Chinese, you can simply type them in the way you normally do.
But if your PC is not set up for that language, you can use the buttons in BM.exe to enter those non-English characters
For example, if you want to enter Chinese remarks, just click in the remarks field first, then left-click the
 button to select Chinese characters and right-click on button to select Chinese characters and right-click on
 to enter any other characters. to enter any other characters.
If you want to enter Chinese characters for supplier contact info, click the field first, then click
 next to "City" to select Chinese, or if you want to
enter any other characters, hit the next to "City" to select Chinese, or if you want to
enter any other characters, hit the  next to "Zip". next to "Zip".
|
 |
BM.exe will show Chinese information in Public Mode if supplier info is in non-English.
|
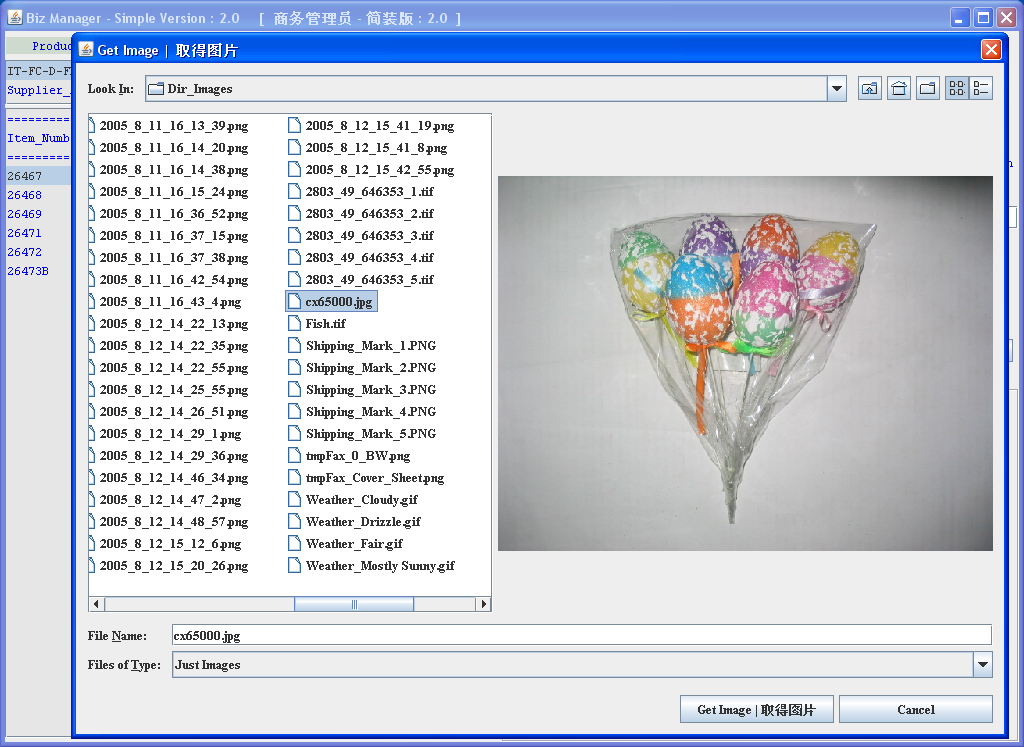 |
You can enter product image one by one. First click on the item, then right-click the  button to select its image. Once the image is entered, it will open the image after you left-click the
  button.
If you haven't selected an item and clicked on the button.
If you haven't selected an item and clicked on the  button, it will open the file folder where all the product images are stored. button, it will open the file folder where all the product images are stored.
|
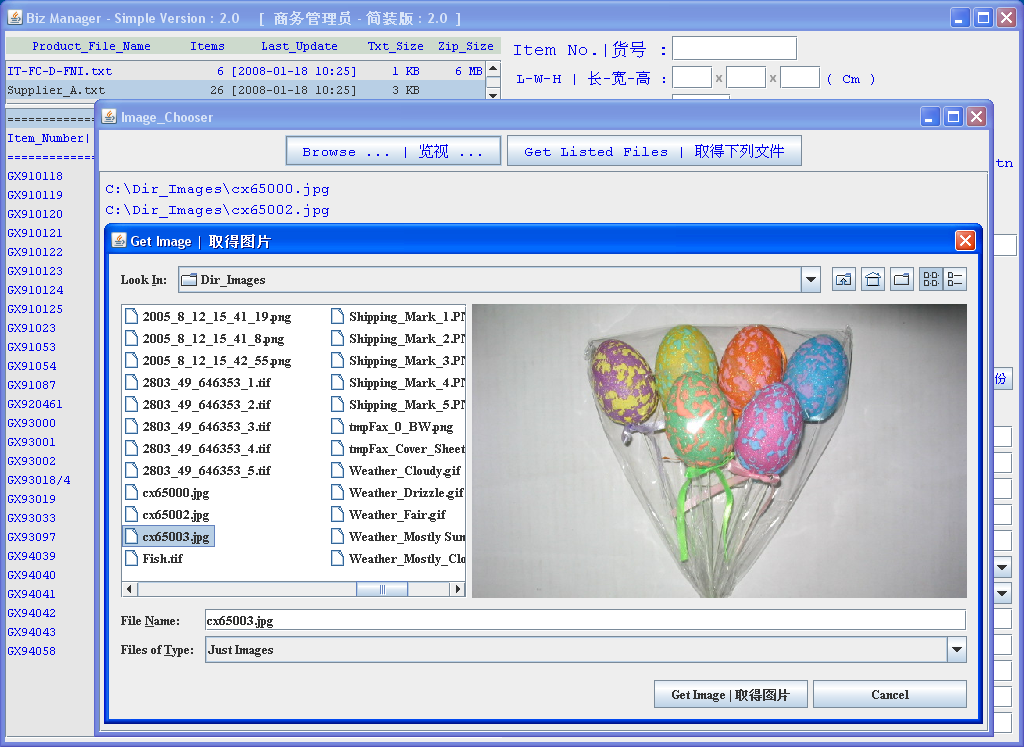 |
You can also enter multiple product images at the same time. First click above the first item on the left side, there are 3 lines above the first item, you can click on any of them.
Then click the  button, it will open a window to let you select multiple images for your items, the image file names must match the item numbers in your file. button, it will open a window to let you select multiple images for your items, the image file names must match the item numbers in your file.
For instance if you have 3 items named : AX1, AX2, AX3, the image file names should be something like : AX1.jpg, AX2.gif, AX3.png. It will recognise different image file formats.
But if you entered : Ay1.jpg, or Ab.gif, then they won't match any of the items in your file.
|
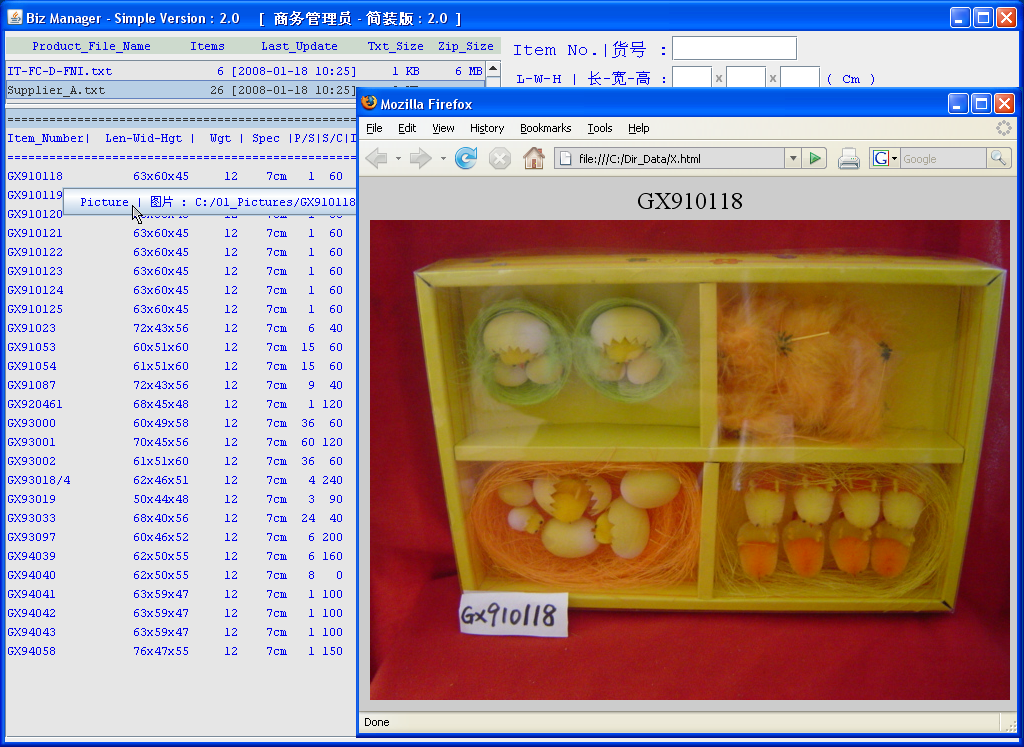 |
If an item has an image, you can mouse over  the item to see its product image file name. And the the item to see its product image file name. And the  button will be checked. button will be checked.
If the item has no image, the  button will not be checked. button will not be checked.
If an item has an image, you can click on either the image file name (e.g.  ), or ), or  to see the image. to see the image.
|